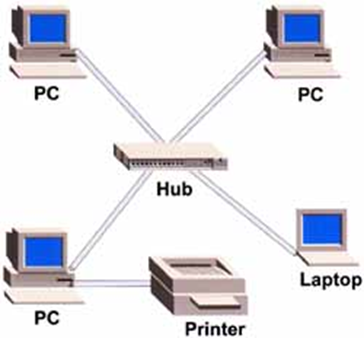
USB / Shared Printers
A USB shared printer is a printer that is connected to a computer via USB and shared with other computers on the same network. This allows multiple computers to use the same printer.
When printer is shared its shared by the PC name, so if printer is moved so it is connected via usb to another computer, it must be set up and installed on all the other computers again.
When printer is shared its shared by the PC name, so if printer is moved so it is connected via usb to another computer, it must be set up and installed on all the other computers again.
Install USB Printer
- Plug in Printer
- On the computer Printer attached
- Download printer driver and install
E.g. https://www.dymo.com/support?cfid=user-guide - Set Paper size / Orientation
- Print test Page
Share Printer
- On computer printer connected to.
- Share Printer
- Open Printer Properties
- Go to Sharing tab and tick Share this Printer
- Configure network and sharing setting
- Go to Windows Menu -> Settings -> Network & Internet -> Advanced Network settings -> Advanced Sharing Settings
- In Private section Turn on Network Discovery and File and Printer Sharing
- Find Device name
- Right click Windows menu -> System -> Device name
- Check what Username and password is for this computer.
You need to it connect to the shared printer on other computers
Connect to Shared Printer on another PC
- On computer printer being Shared to;
- Add Print Server Credentials (PC printer connected to) in Credential Manager
- Windows menu-> Credential Manager -> Add a Windows Credential
- Add the pc name, u/n and p/w for the PC that is connected to printer. (you cannot use the windows pin code)
(if you don’t know un/pw make new user on PC printer connected to). - Install the Printer
- Go to Printers & scanners.
- Click Add Device
- Either;
- Choose the printer you want
- select Add Device.
- Go to step 3d.
- If you don’t see the printer you want,
- select The printer that I want isn’t listed
- In the Add printer dialog box, select Select a shared printer by name
- Enter the computer or device name of the primary PC and the share name of the printer using in format of: \\computername\printername
- When prompted to install the printer driver, select Next to complete the installation.
Related Articles
Label Printer Recommendations
We now recommend the Zebra ZD421 label printer (thermal + ethernet version) Zebra LP2824, LP2844 and GK420d are printer previously recommended that are now out of production. Dymo Label Writer 450 can also be used. Dymo is a USB printer so if used ...Bixolon SPP-R310 Label Printer - Setup and Troubleshooting
Overview The Bixolon SPP-R310 is a small Bluetooth label printer used by mobile vets for drug label printing with VetlinkPRO. Important: Bixolon has officially confirmed that the SPP-R310 is technically a receipt printer, not a true label printer, ...Printing from home using Remote desktop
As a temporary measure to print from home you can enable a printer prompt to appear for everything that is printed so you can choose a printer or PDF printer. Note: That this will change for everyone on the same profile. Contact the helpdesk to ...Editing Drug Label Margins
If you are using pre-printed drug labels with pre-printed warnings and logo details, you may need to edit the drug label margins so everything prints in the correct place. To edit the drug label margins in VetlinkPRO go to; Options → Picklist set up ...RDWeb - Printing / Downloads / Uploads / Resolutions
RDWeb access is an alternative to setting up remote desktop icons on your PC. Its allows Vetlink to be accessed through your web browser which can make it easier if accessing from different PC's. It still will look and work almost the same as ...