Setting Up New Payment Method
- Go to Options > Setup > Log in with username and password
- Click “Bills” button (toolbar on left hand side)
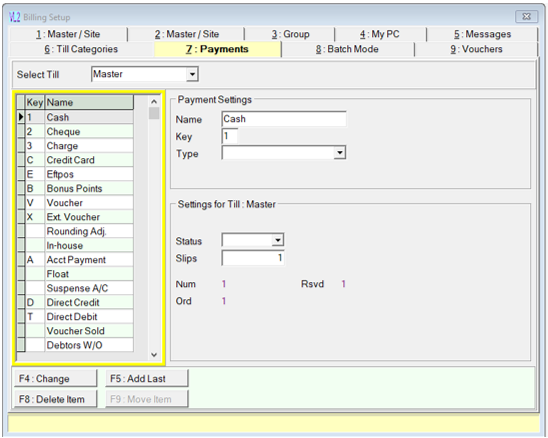
- Go to Payments tab (7)
- Click add last (F5)
- Insert Payment settings
- Name of payment type = Grab one
- Key = G (or something that hasn’t been used already)
- Type = Voucher
- Insert settings for till
- Slips = 1 (how many do you need printed at the End of day period)
- Click SAVE (F12)
- This should now show in the left-hand side of the window with the existing payment methods.
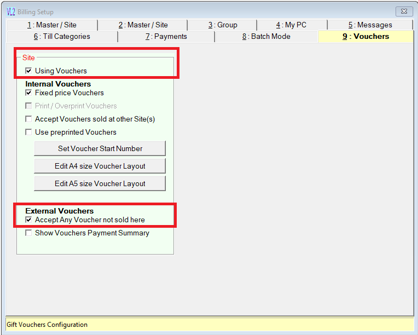
- If you are setting up a voucher then check external vouchers have been enabled.
- Next go to the vouchers tab (9) at the top right hand side of the window.
- Tick the box “Using Vouchers” if not already done.
- Tick the box “Accept Any Voucher not sold here” Exit out of Vet link setup and SAVE. Close and Open Vetlink.
Related Articles
GAP - wrong payment method
For GAP payment bills Check status of the claim, should be Pmt Submitted. Find the GAP payment bill and reverse existing bill. In Ibview got to Claim_Main table and find the claim and set the status back to Awaiting Payment (8). Make payment from the ...
Creating Feedback Automations
Creating Feedback Automations Overview This article provides step-by-step instructions for setting up automation for client feedback on departed appointments, including creating automation, setting filters, creating templates, and scheduling. 1. ...
Payment Surcharge
VetlinkPRO does not have a surcharge facility however using a this can be handled by creating a Surcharge Fee item. Create Surcharge Item Create new product Give item a name, eg Credit Card Surcharge Set class = fee Assign to a category if required ...
Tax Receipt / Invoice Printout formatting issue in Payment section
If the payment section of the tax invoice/receipt print is not formatted correctly as per screenshot below you can try edit the size of text and apps in windows. To fix; Close Vetlink If on the Vetlink cloud server then log off by clicking the red ...
Adding a New Staff Member
To Add a new Staff Member Create the client record, add details and save. Click Staff button on main button menu then the New button. Click OK to the message and search for the client you just created. Once new staff record has opened. Enter a Staff ...